Hello light friends! Today we can’t be happier, finally a very special flashlight comes to light. Lightpainters around the world had been waiting for this flashlight for a long time. A small flashlight, very powerful, waterproof, with many possibilities of strobe and setup options. Created by Light Painting Paradise in collaboration with Dennis Ryu, the lightpainter’s flashlight is here to stay
Here you can watch the incredible promo video:
Así lo hicimos
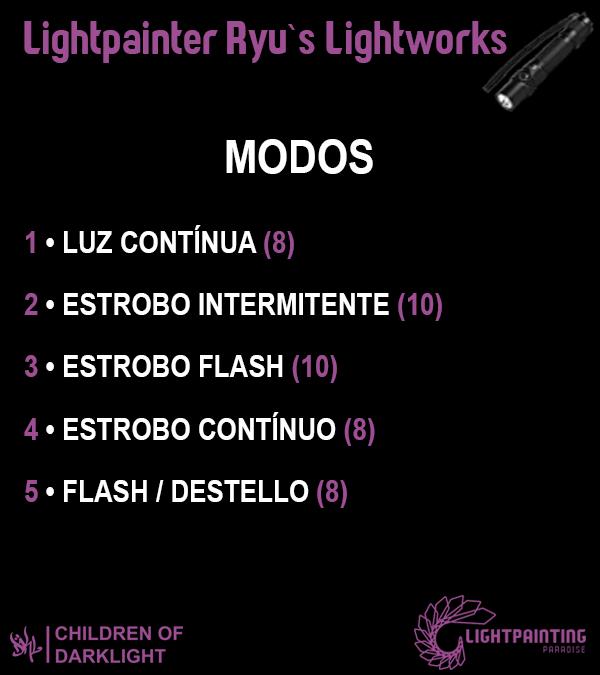
For those of us looking for more control in our flashlights, which translates into more creative possibilities, today is our lucky day! The flashlight consists not only of continuous light, but also of 3 different types of strobes, multiple variations of them, and an inedit mode called flash mode. It’s very important to understand them, test them and be aware of all the possibilities. If there is somehting you do not understand, please let us know. Here our explanation:
- CONTINUOUS LIGHT, 8 levels of power, from 8 LM (146 h runtime and 6m beam distance) to 1200 LM (1h28m runtime and beam distance 257m)
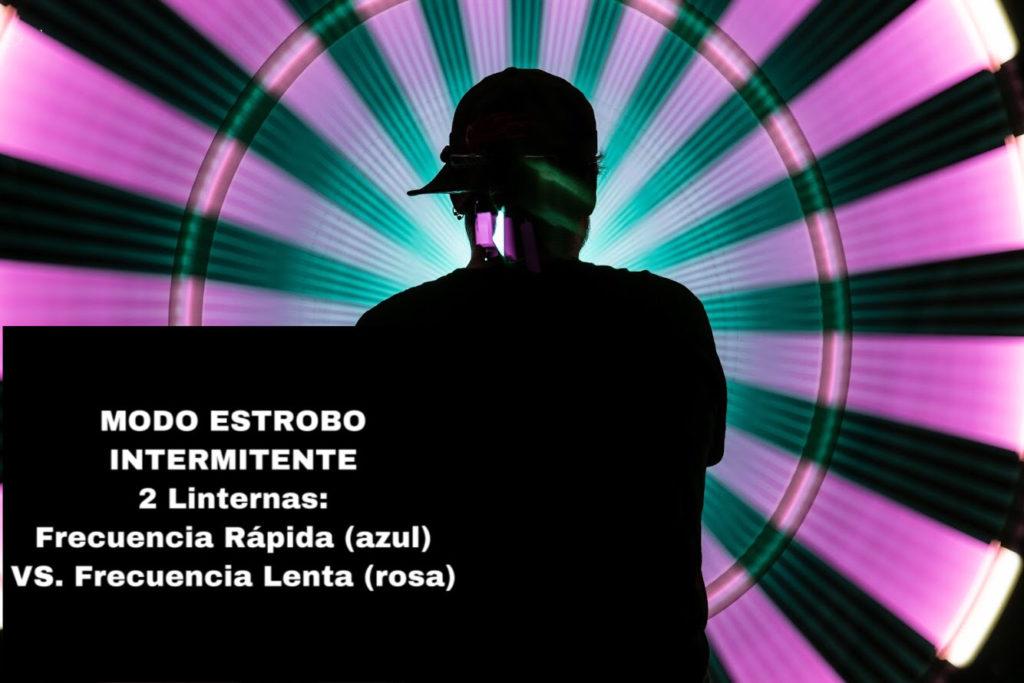
- INTERMITENT STROBE, It alternates the same time of light as of darkness, being able to carry out 10 frequency variations that extend or decrease that time of darkness (equal to the time of light in this case)
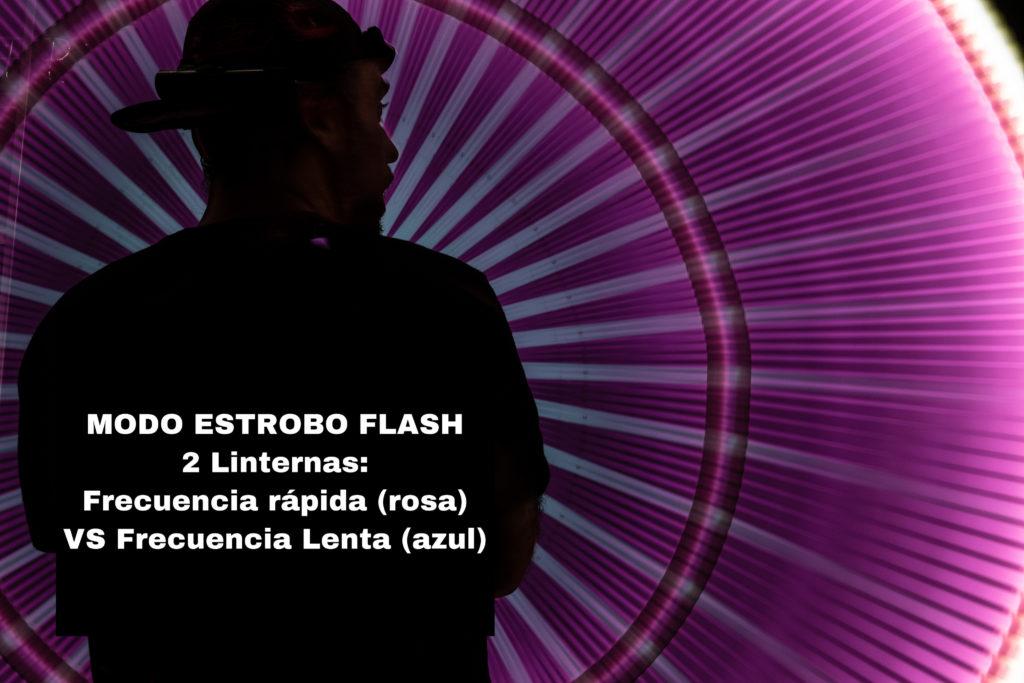
- FLASH STROBE, it alternates light and darkness.. In this case the light time is always a fraction of 5 ms of time, and with 8 frequency variations, we extend or decrease the dark time
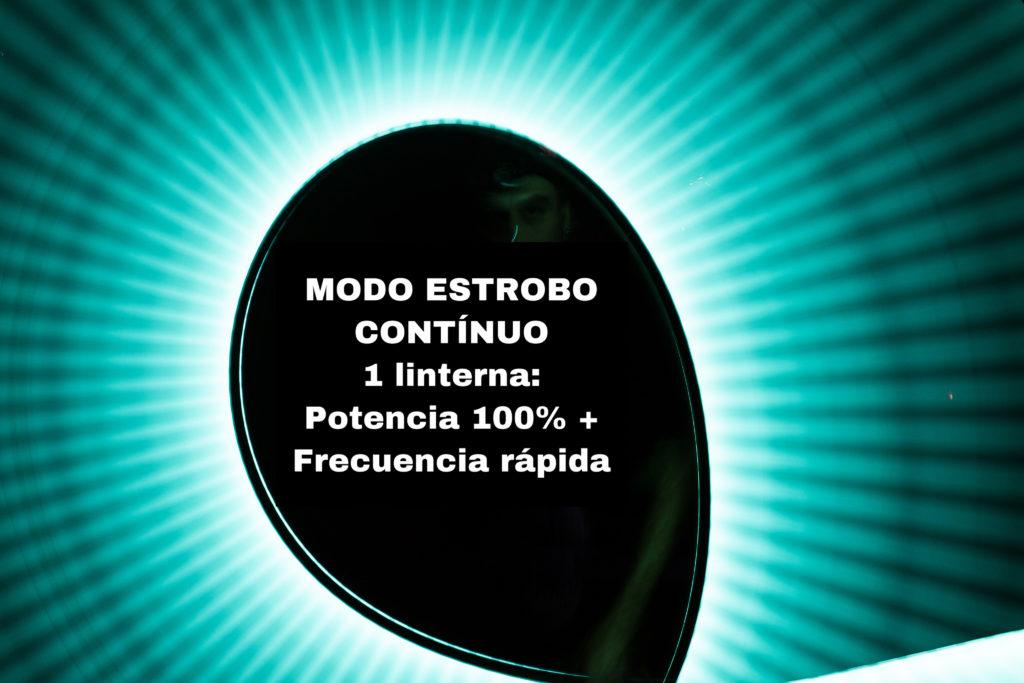
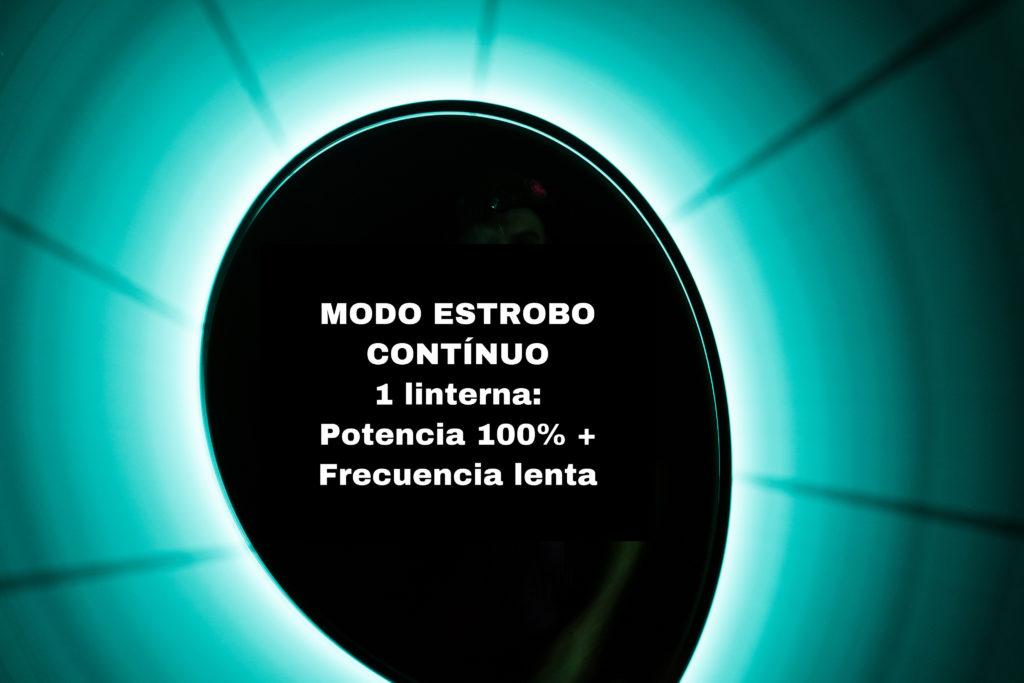
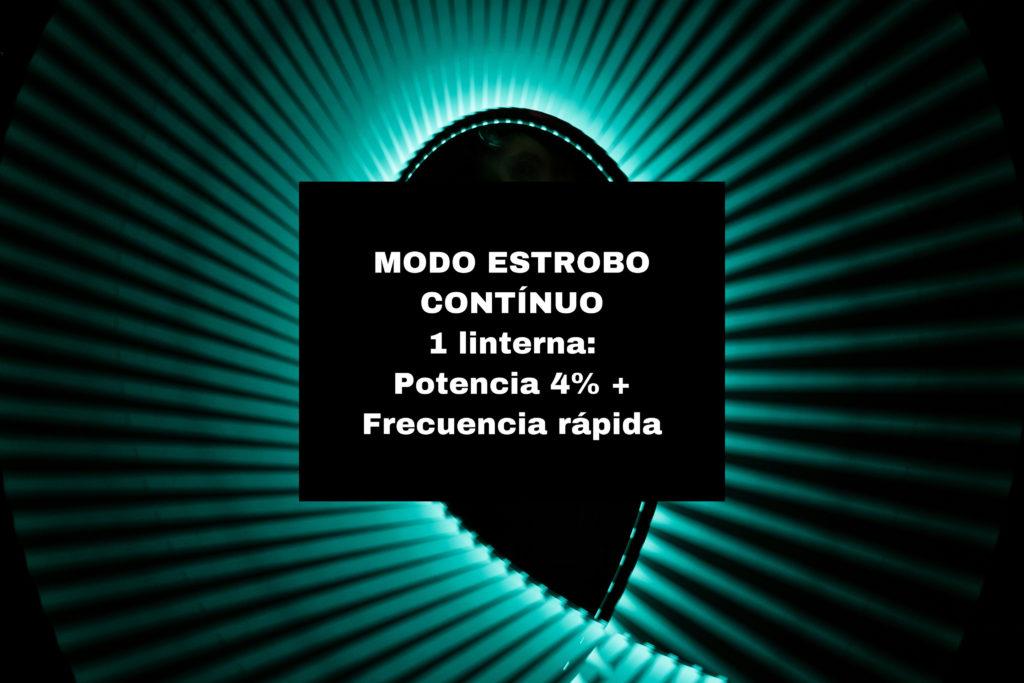
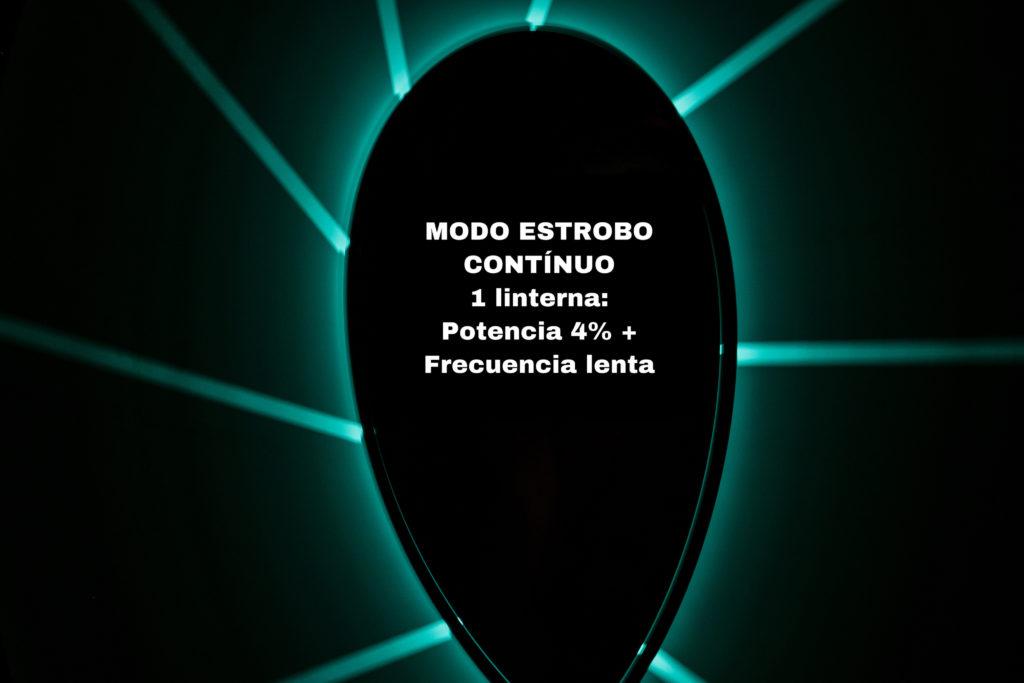
- CONTINUOUS STROBE, The flashlight emits a continuous light at the preconfigured power, but always alternated with a 5ms flash at 60% power. We have 10 variations in this mode that increase or decrease the time it emits light at the preset power.
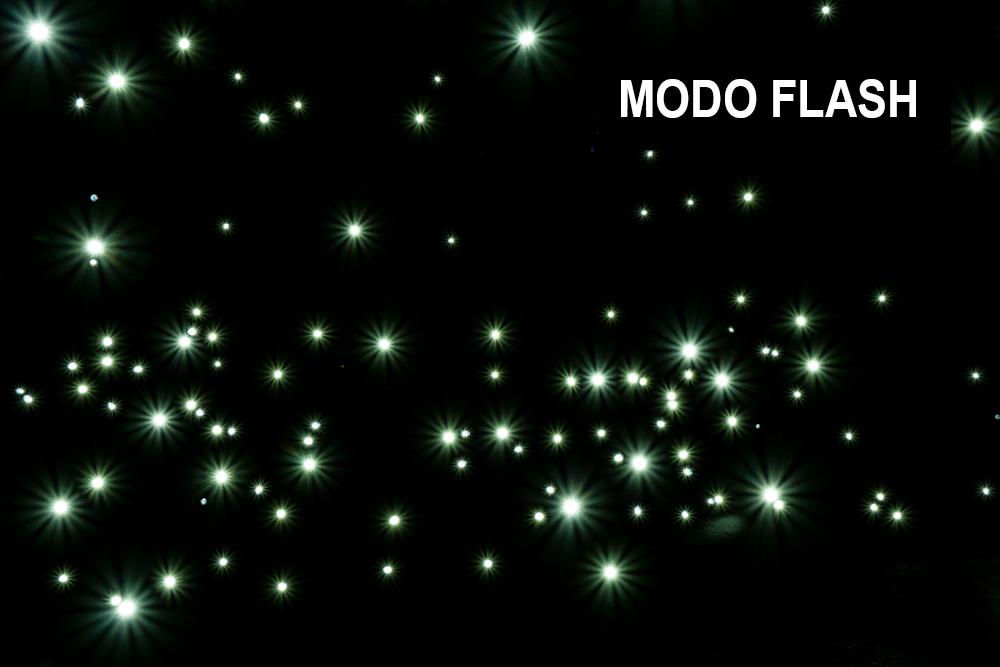
- FLASH, emits a single flash of light of 5 ms at the preset power.
Let’s see some examples in which we make a circle with the flashlight connected to a white plexytube. For the first two strobe modes we have combined two flashlights setup in the same mode, one at its highest frequency and one at its lowest frequency, to better appreciate the differences between the different variations. The next ones use a single flashlight with the continuous strobe and a tube, and the last one, it’s only one flashlight in Flash mode.
You can see how this images where made in this special video about the flashlight (video recorded live) .
Other features:
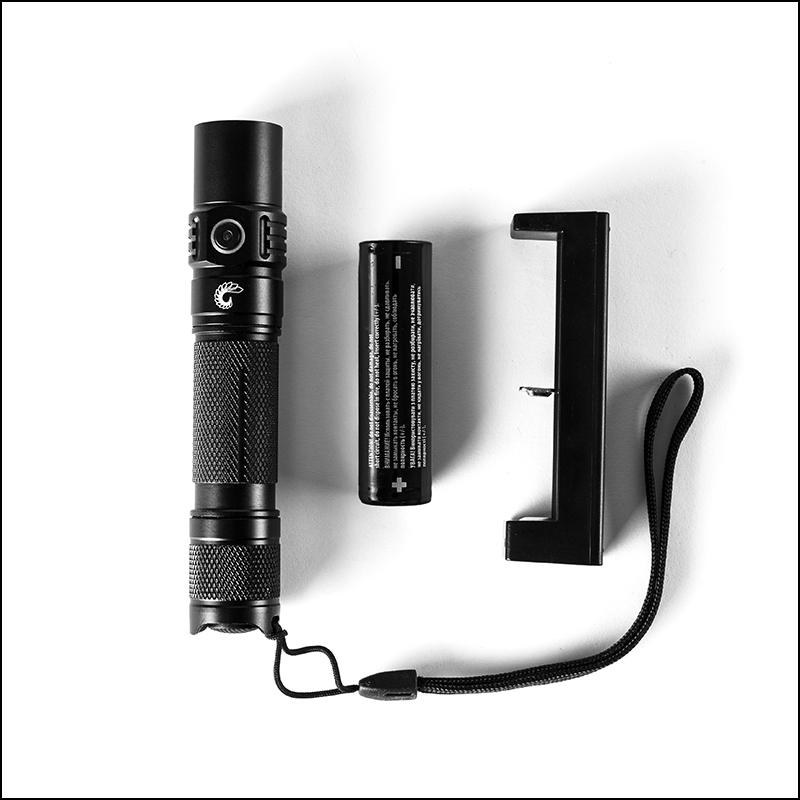
- 2 m waterproof (IPX8)
- LED color temperature is 5400-5700K
- It’s possible to safe settings
- Side clip included
- 2 buttons, tail cap button and side button
- The flashlight includes battery and charger
- There are specific accessories designed for this flashlight, such as the filter holder or theAll-in-one adaptor which allows us to connect the flashlight with the other accessories available at Light Painting Paradise
Operations
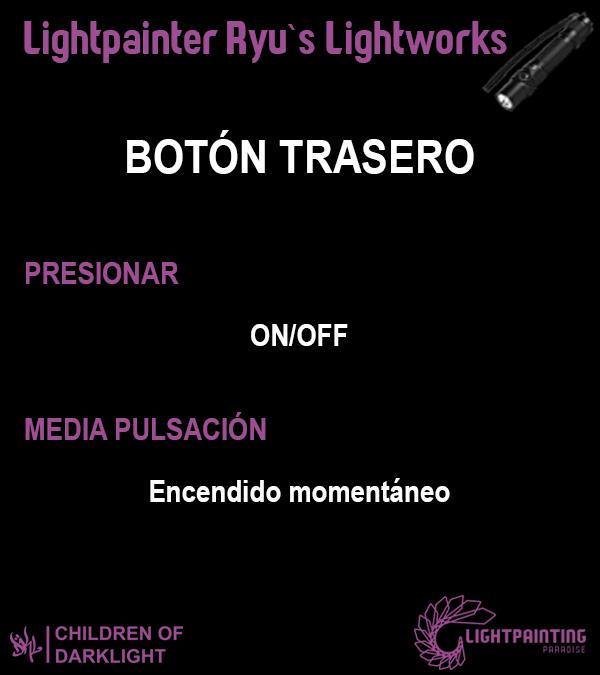
- TAIL CAP BUTTON, ON/OFF switch You can also do a half press for a momentary switch.
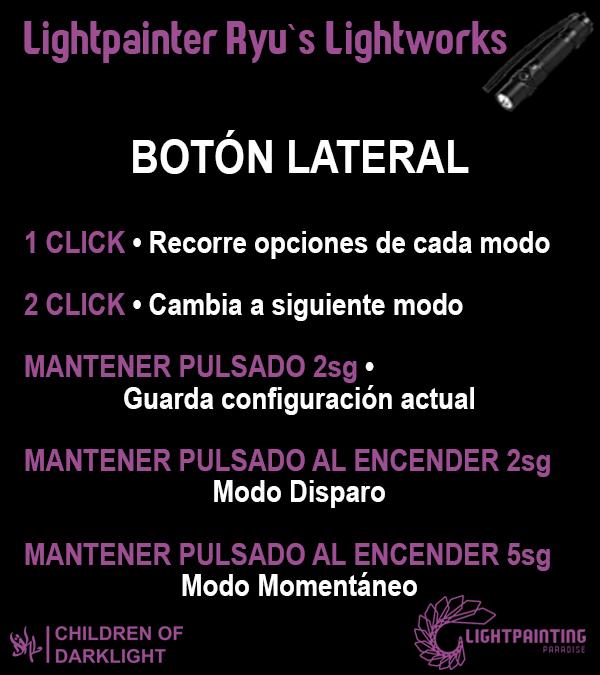
- SIDE BUTTON, VARIATIONS OF A MODE: By making a simple click on the side button, we will switch between the different possibilities offered by each mode. In the case of continuous light, this variations refer to the power of the light. In case of strobe modes, it refers to the time frequency
- SIDE BUTTON, CHANGE OF MODES: By double clicking we will go from one mode to another.
- SIDE BUTTON, MEMORIZE. Holding down the side button for two seconds, we will save in memory a mode (the flashlight will blink 2 times).
- SIDE BUTTON, TRIGGER MODE. We can give priority to the side button so when pressing the button, it turns on the light, and when pressing it again the light turns off. To do this, once the flashlight is off (with the tail cap button), we turn it on (tail cap button) while holding down the side button for two seconds (the flashlight will blink 2 times).
- SIDE BUTTON, MOMENTARY MODEIn the same way as in the previous case, if we turn on the flashlight (tail cap button) while holding down the tail cap button for 5 seconds, we will enter momentary mode (the flashlight will flash 5 times), where when we hold down the side button the flashlight will be on, and when we release it the flashlight will be off.
Users guide, learn how to use it easy and fast
Do you need all these concepts to be more clear for you? We have created this video to help you.
How to get the flashlight and a discount?
You can get the flashlight at Light Painting Paradise, by clicking here. In addition, you can use our promotional codeDKL to get a special discount, as we are brand ambassadors.
A little extra help
You can save these images on your smart phone in case they help you to use the flashlight
Let’s see some more results
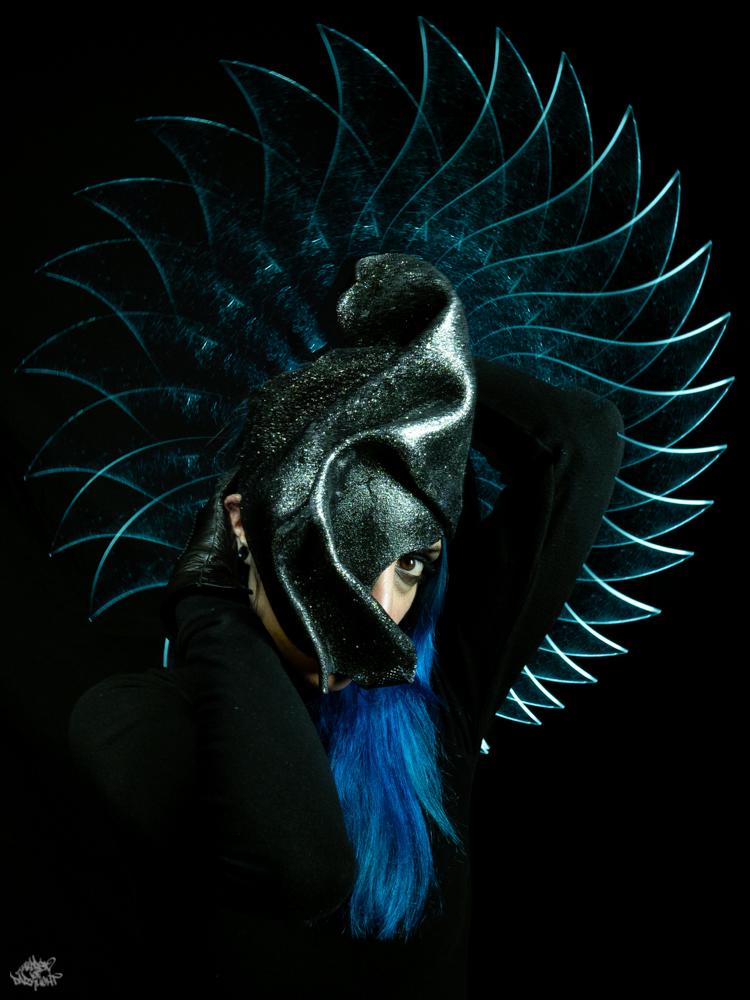
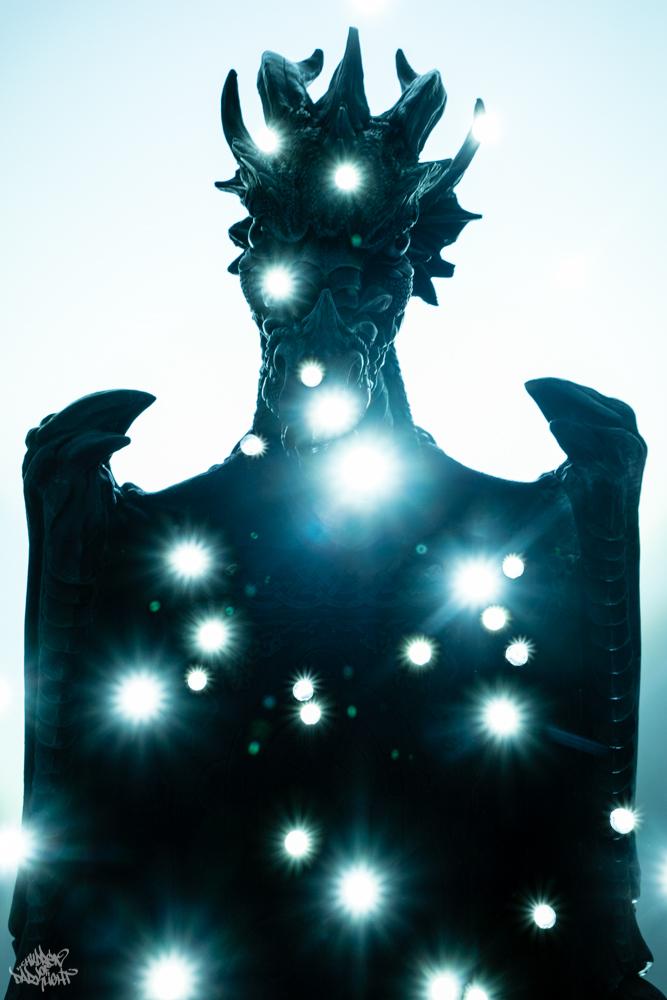
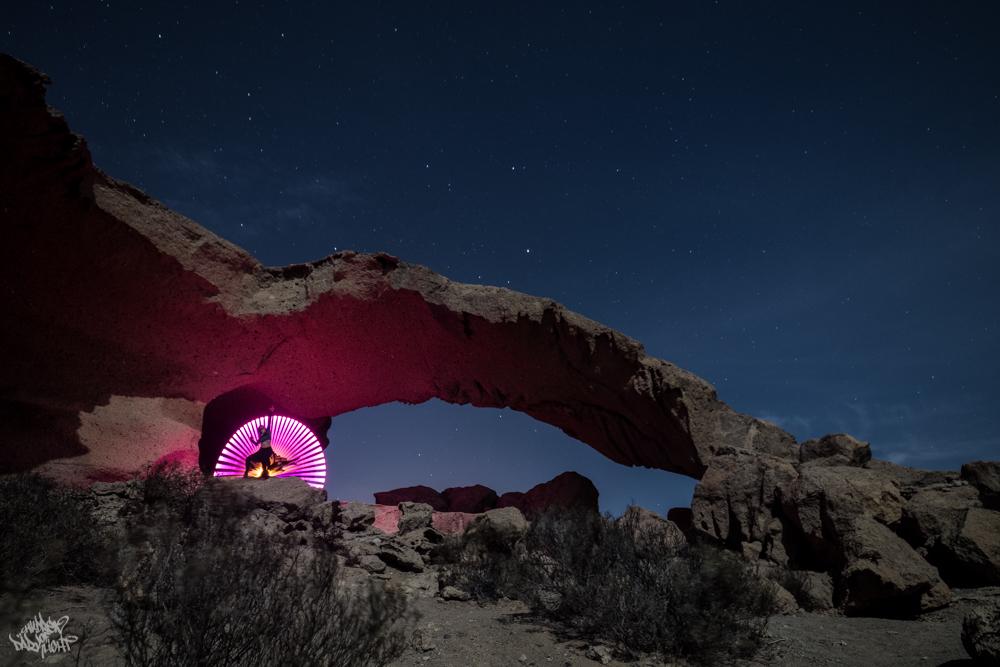
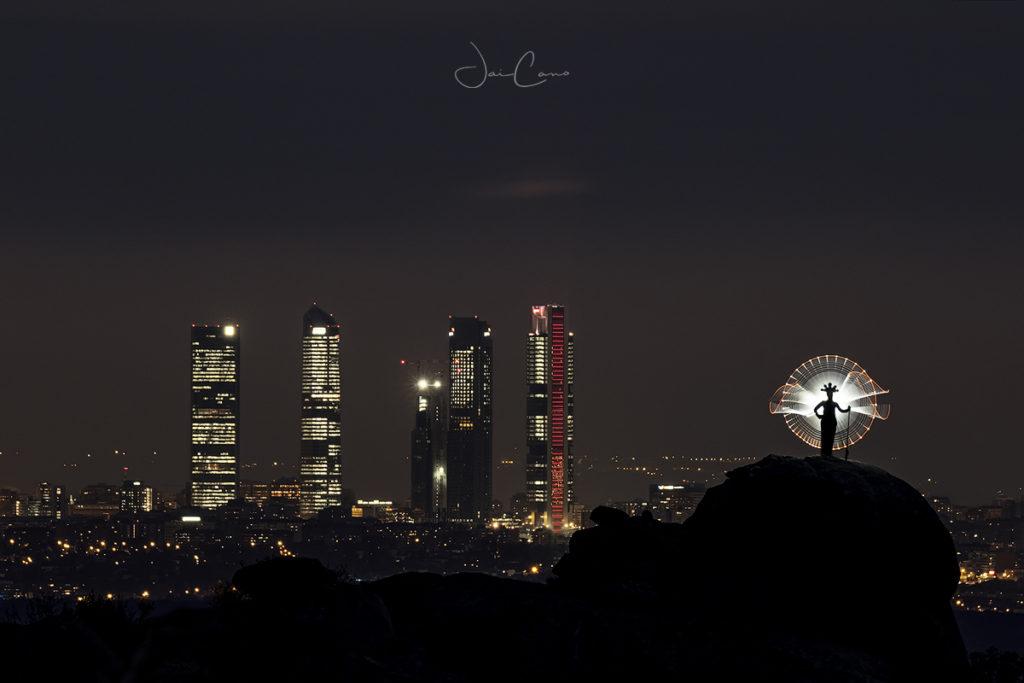
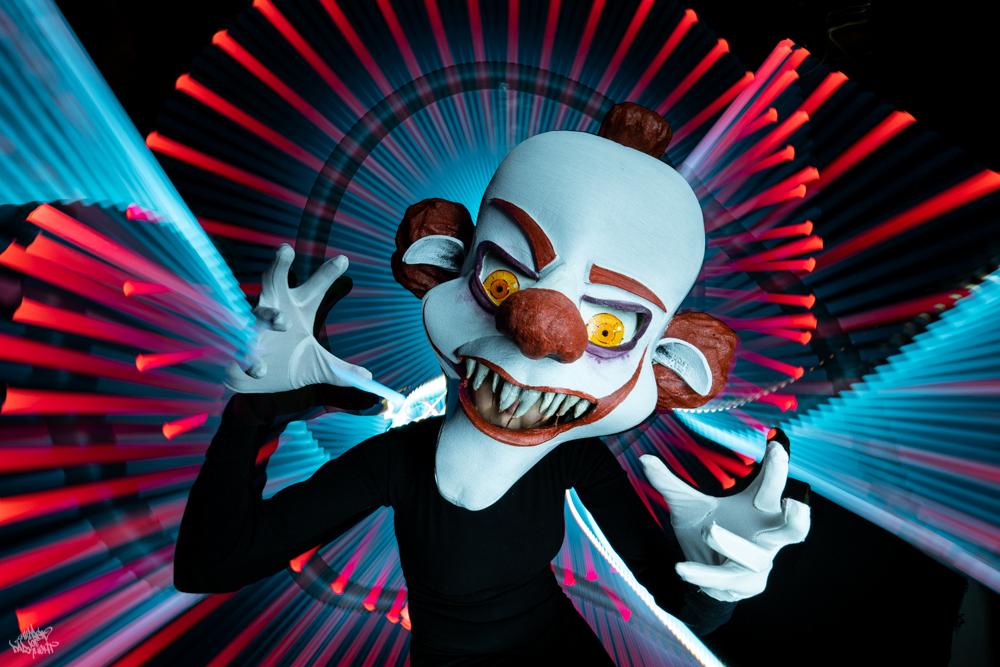
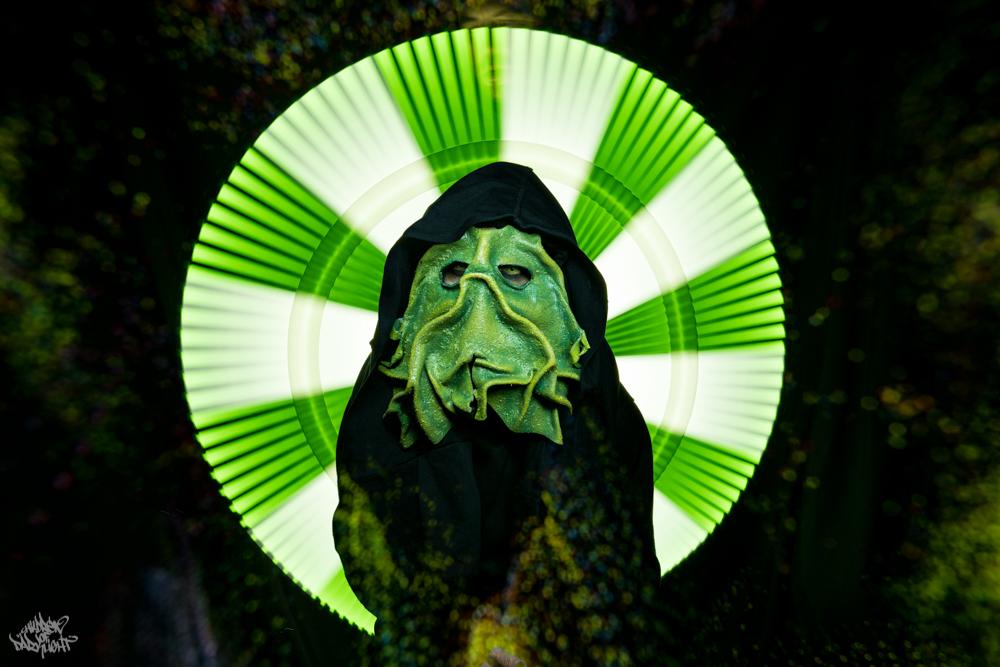
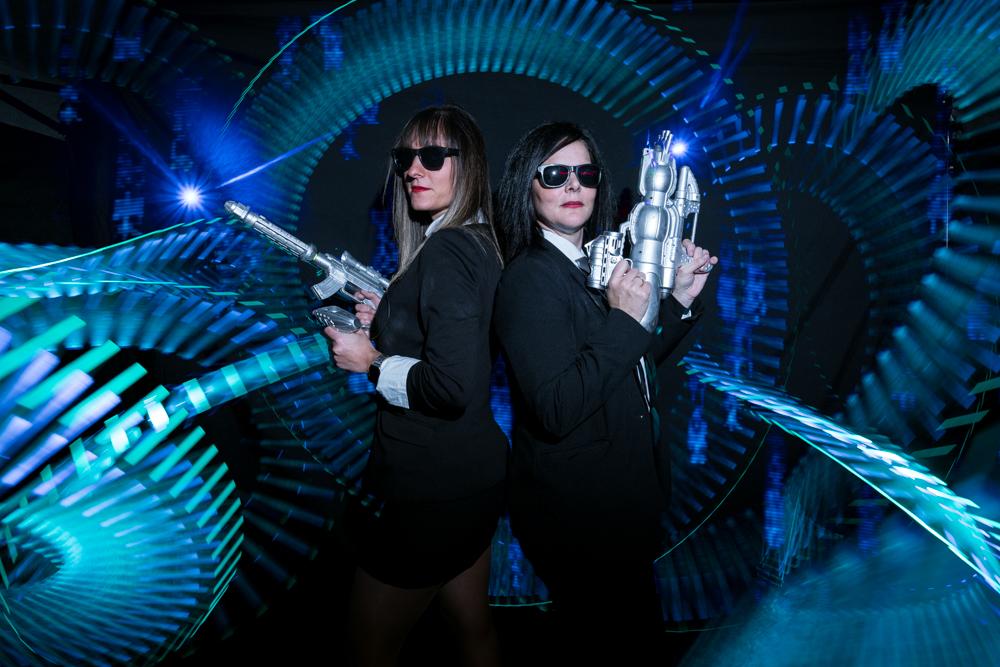
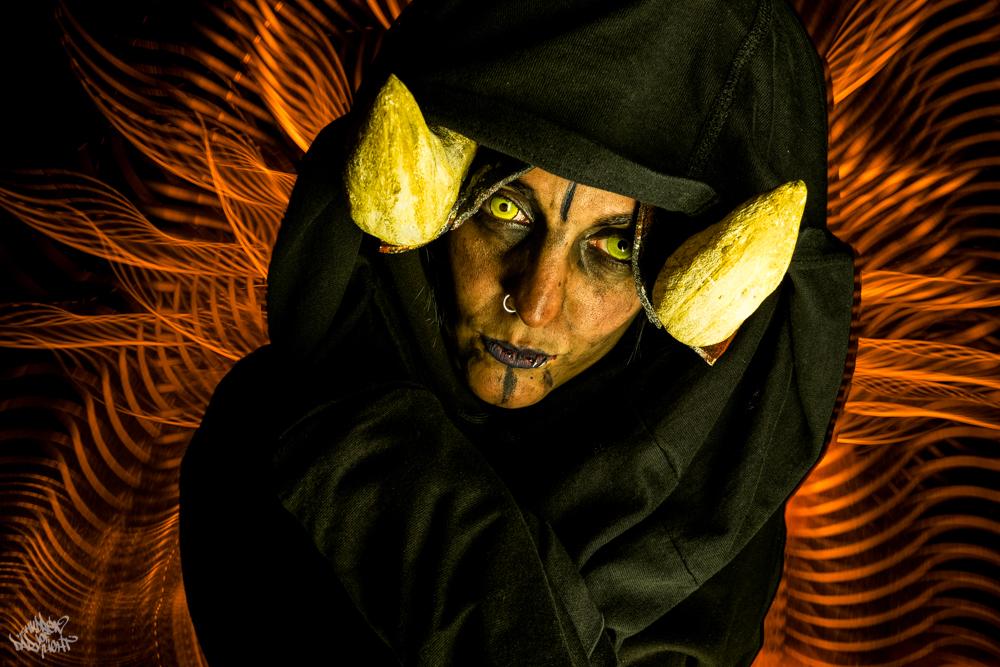
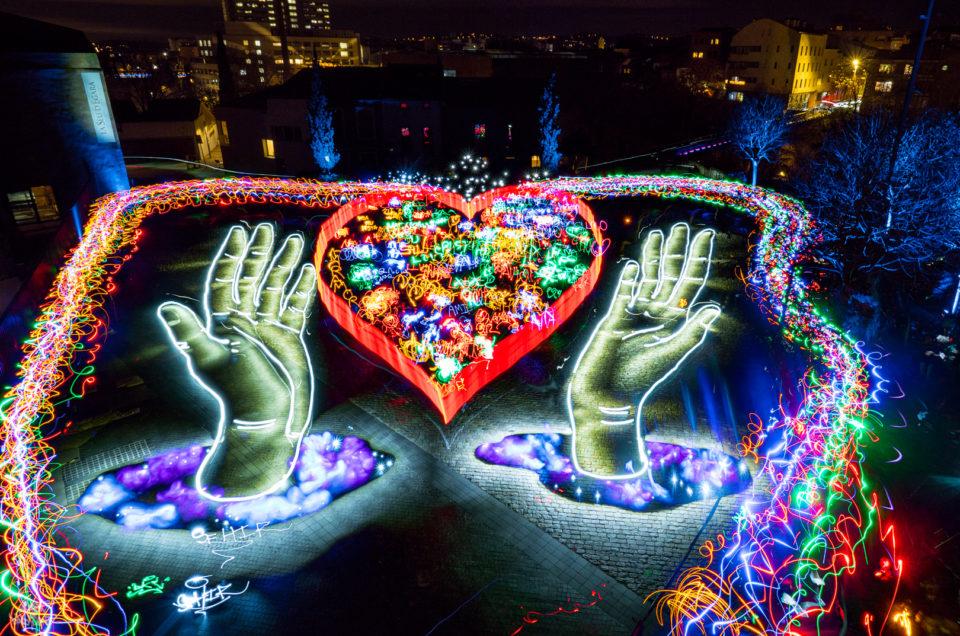
In these artworks, the Lightpainter Ryu’s Lightworks flashlight is essential. The first image uses a flash strobe at the desired frequency to form such a light pattern. In the second, Flash mode is the protagonist. The third, fourth, fifth and sixth combine two simultaneous flashlights with various plexyrodsand plexytubescombined with different colors and strobe modes. The last two images use strobe modes with plexyshapesfor effects
We hope you liked this article, we invite you to follow us and support us in our social networks:
https://www.instagram.com/childrenofdarklight
https://www.facebook.com/childrenofdarklight
https://www.youtube.com/ChildrenOfDarklightTV
May the light be with you!
Frodo DKL







2 Comments
Would greatly appreciate this video done in English. I find reading the subtitles while trying to watch what is being clicked on the flashlight terribly confusing. A slower paced and English video is respectfully requested.
Hi, this video has english subtitles
Love & light,
Frodo